Field Mapping with Touch GIS part 2: Understanding the Project Interface

You’ve made your first project and you’re ready to start adding data — here’s a quick crash course on the project interface.

If you’re just getting started with Touch GIS, be sure to check out part one of this series: Field Mapping With Touch GIS Part 1: Getting started.
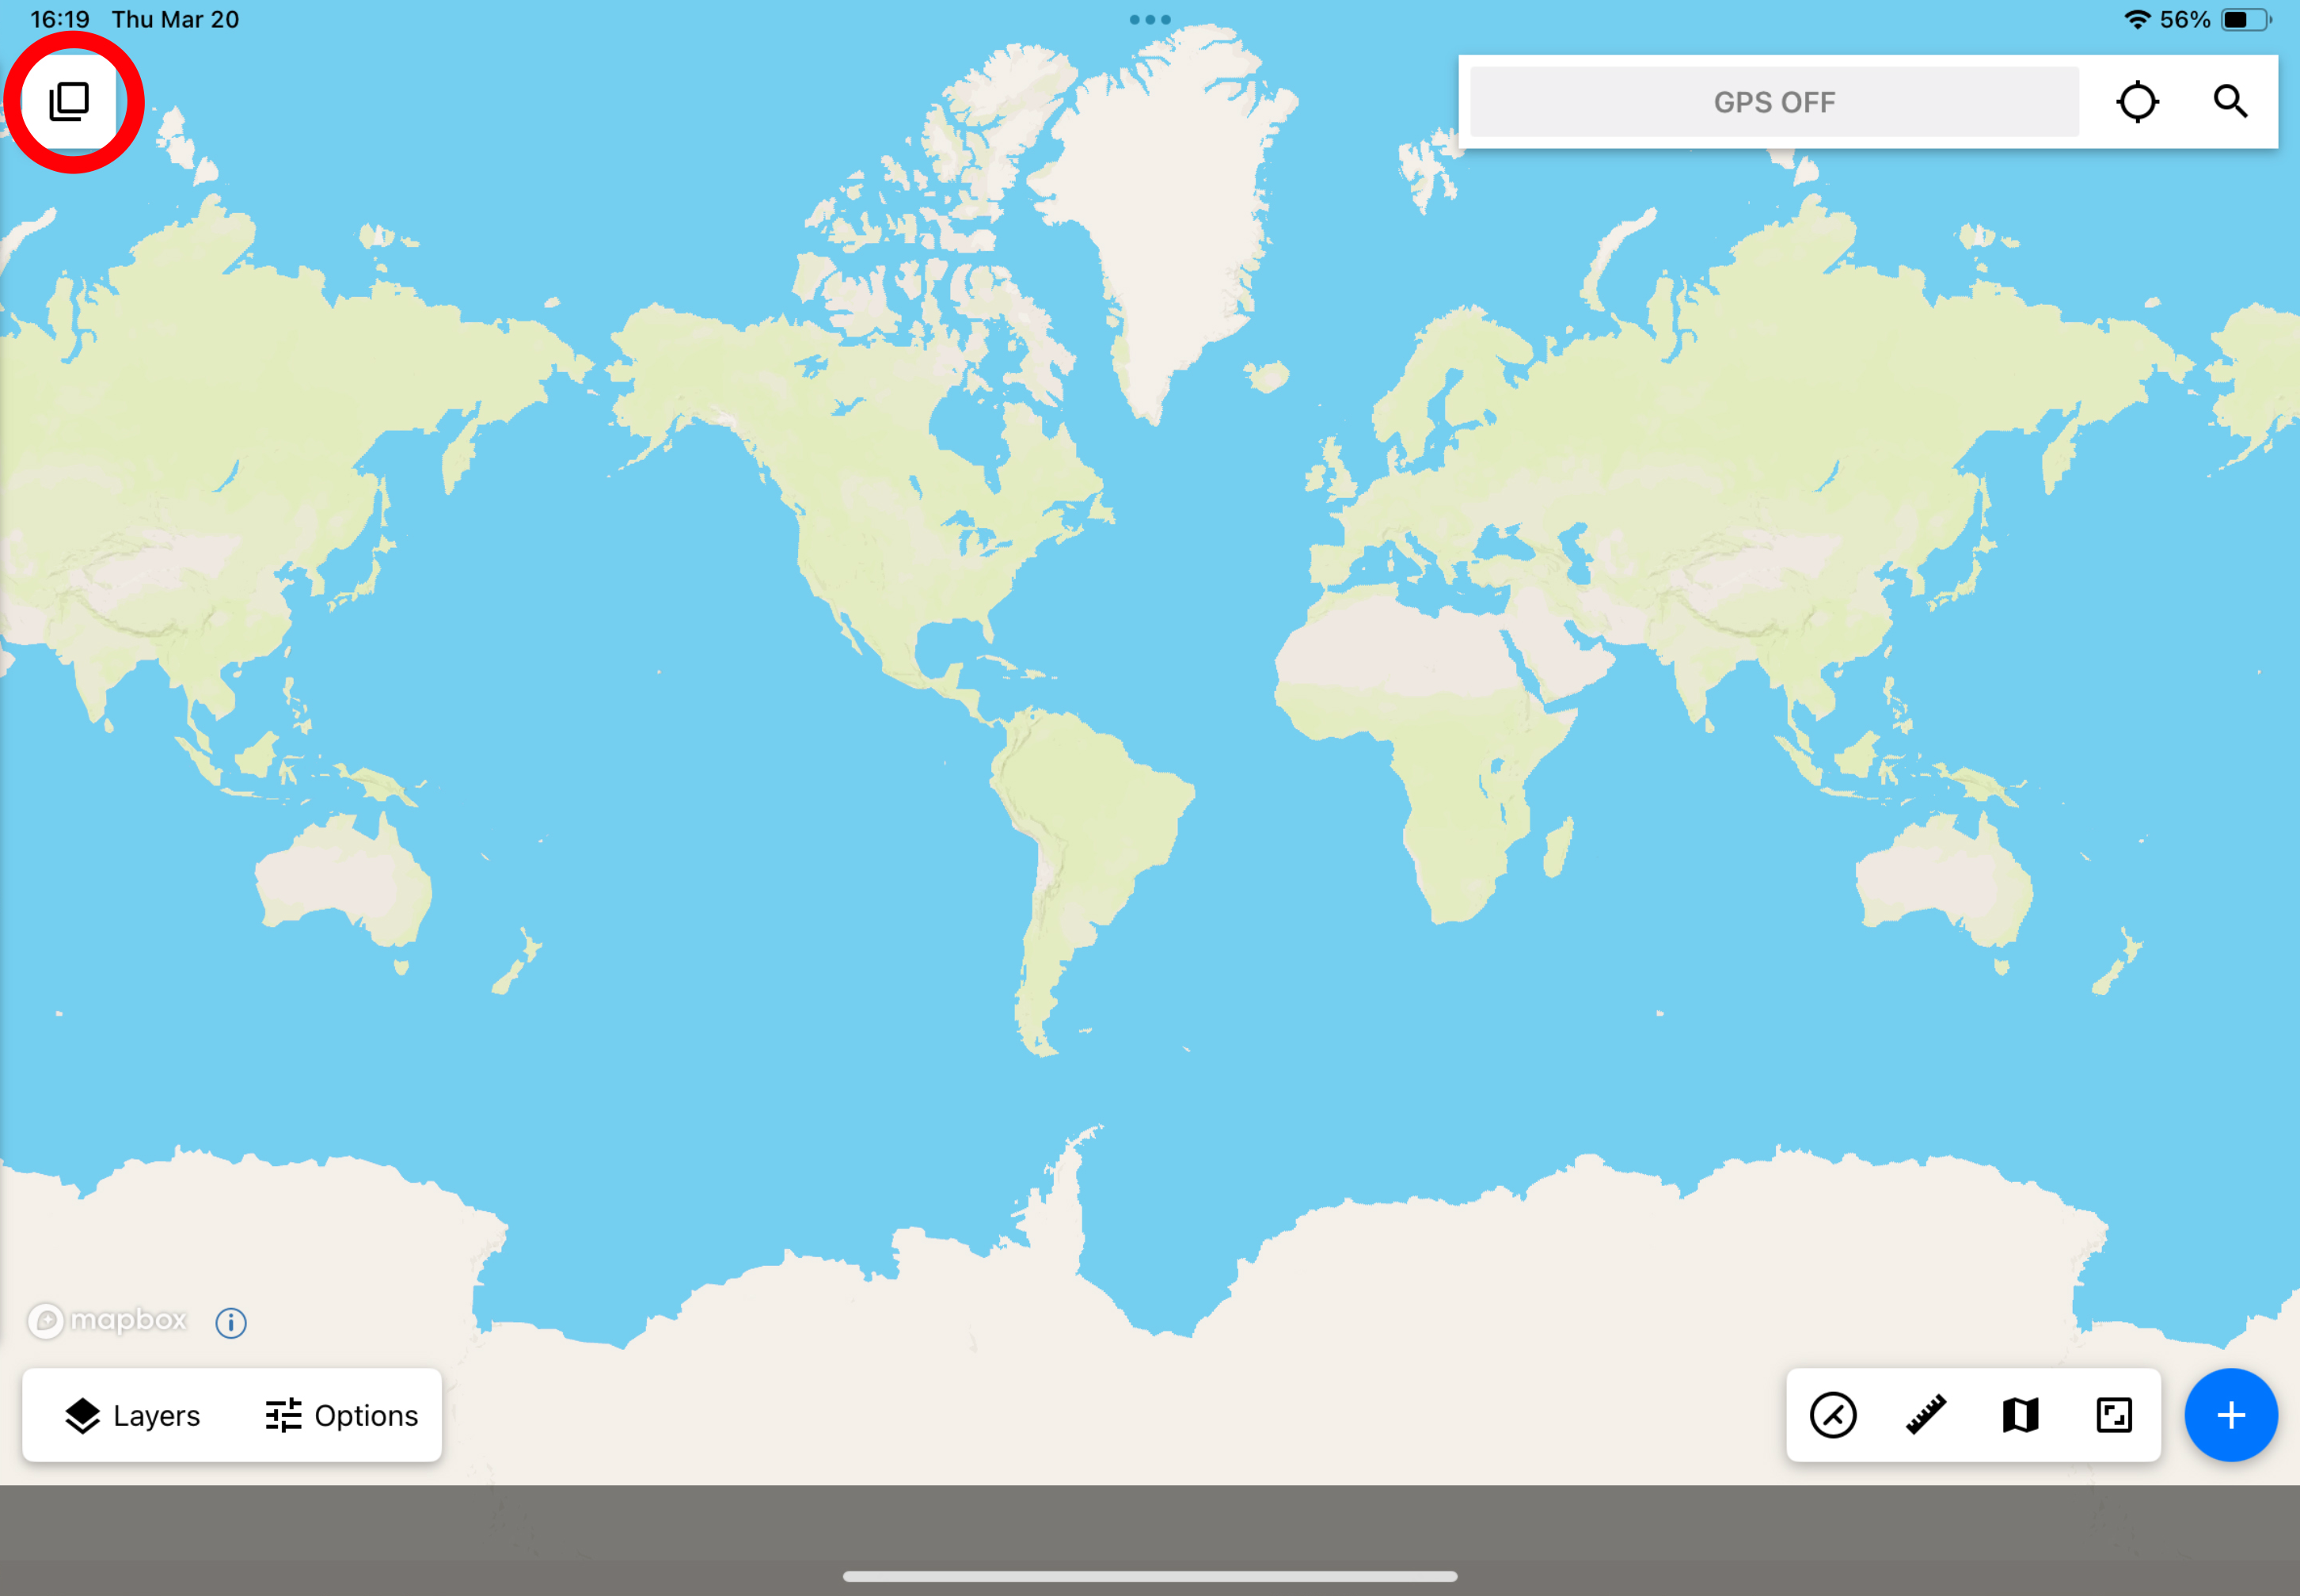
The Layers Menu

Layers are how collected data is organized in Touch GIS. Tap the Layers button to open and close this panel. Read more about layer management here.

Sample Touch GIS project with Layers panel open and Layers button circled in red.
Tap the Layers button (circled in red) to open and close the Layers panel.

The Options and Settings Menu

Here you will find:

  • Feature Class Data Sets
  • Your Offline Map Regions
  • Maps Settings
  • Project Unit Settings
  • GPS Settings
  • User Guide
Sample Touch GIS project with Layers panel open and Layers button circled in red.
Tap the Options button to open and close the Options panel.

Read more about options features here.

Tutorial & Contextual Readout

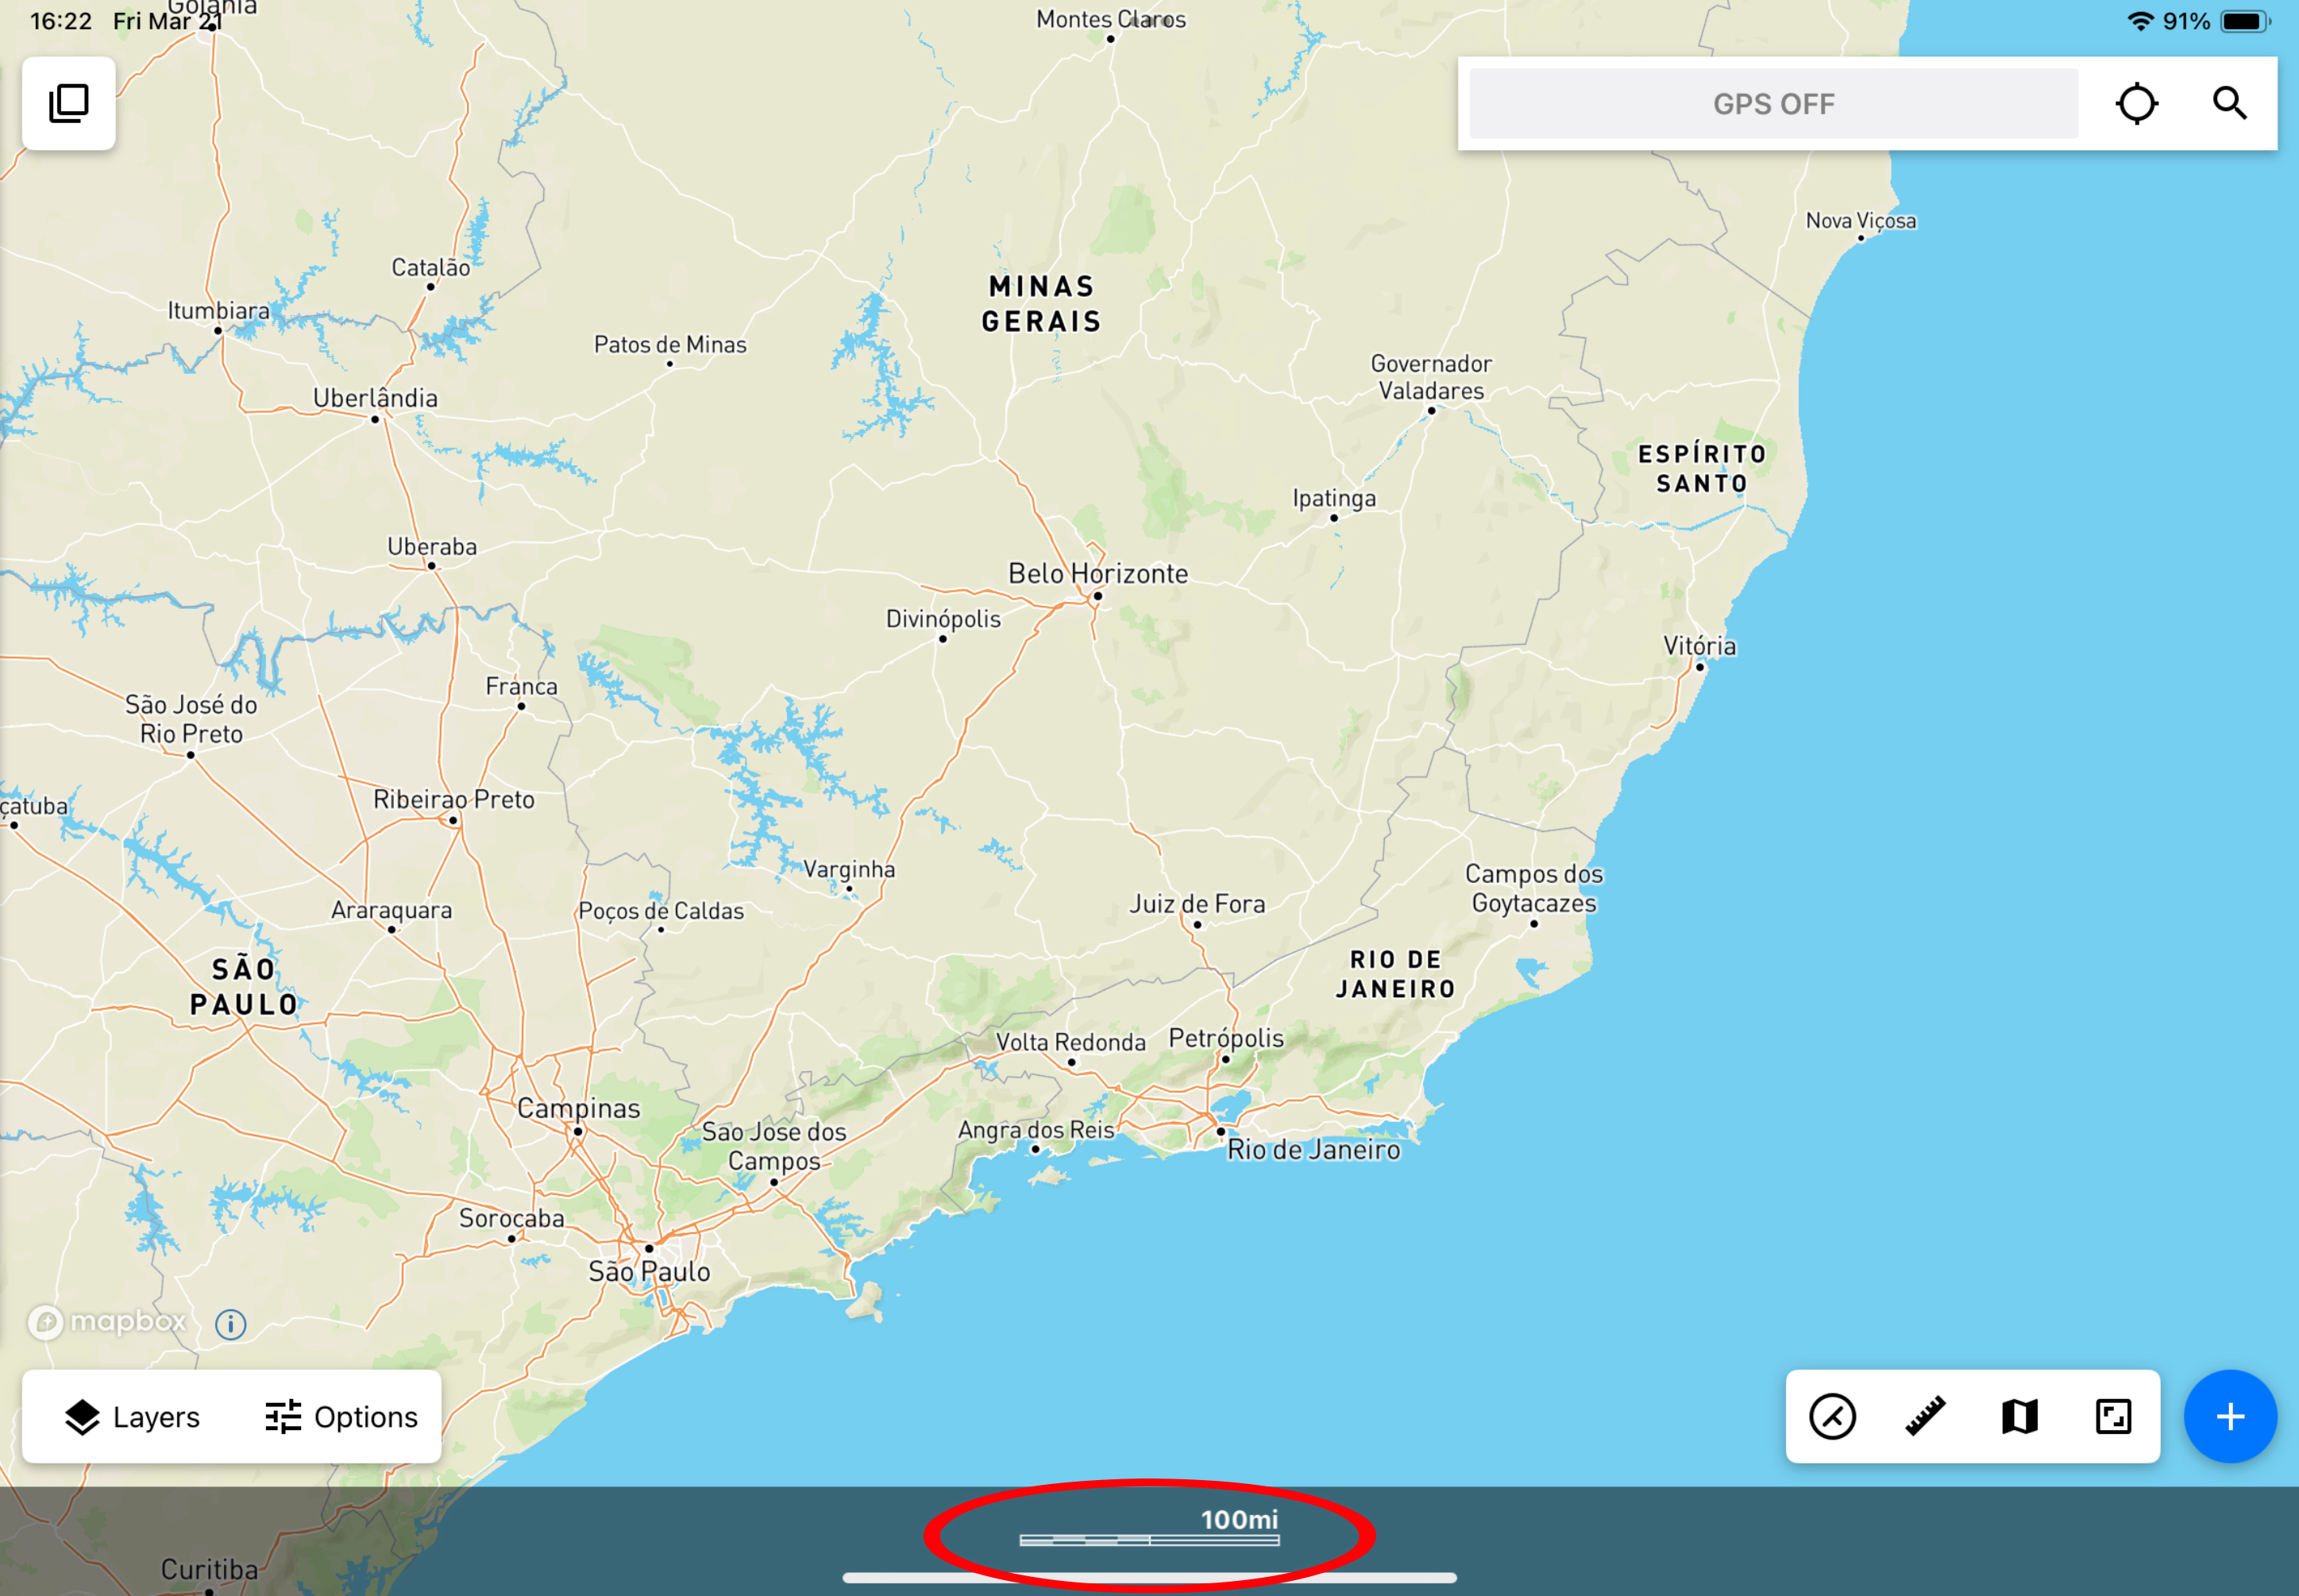
This panel will show instructions using certain tools (i.e. Measure Tool, see below), but will mainly show map scale for your current map view.

Sample Touch GIS project with Tutorial & Contextual Data Readout area circled in red.
When using certain tools, the Tutorial & Contextual Data Readout area will give additional usage instructions (see Measure Tool below).

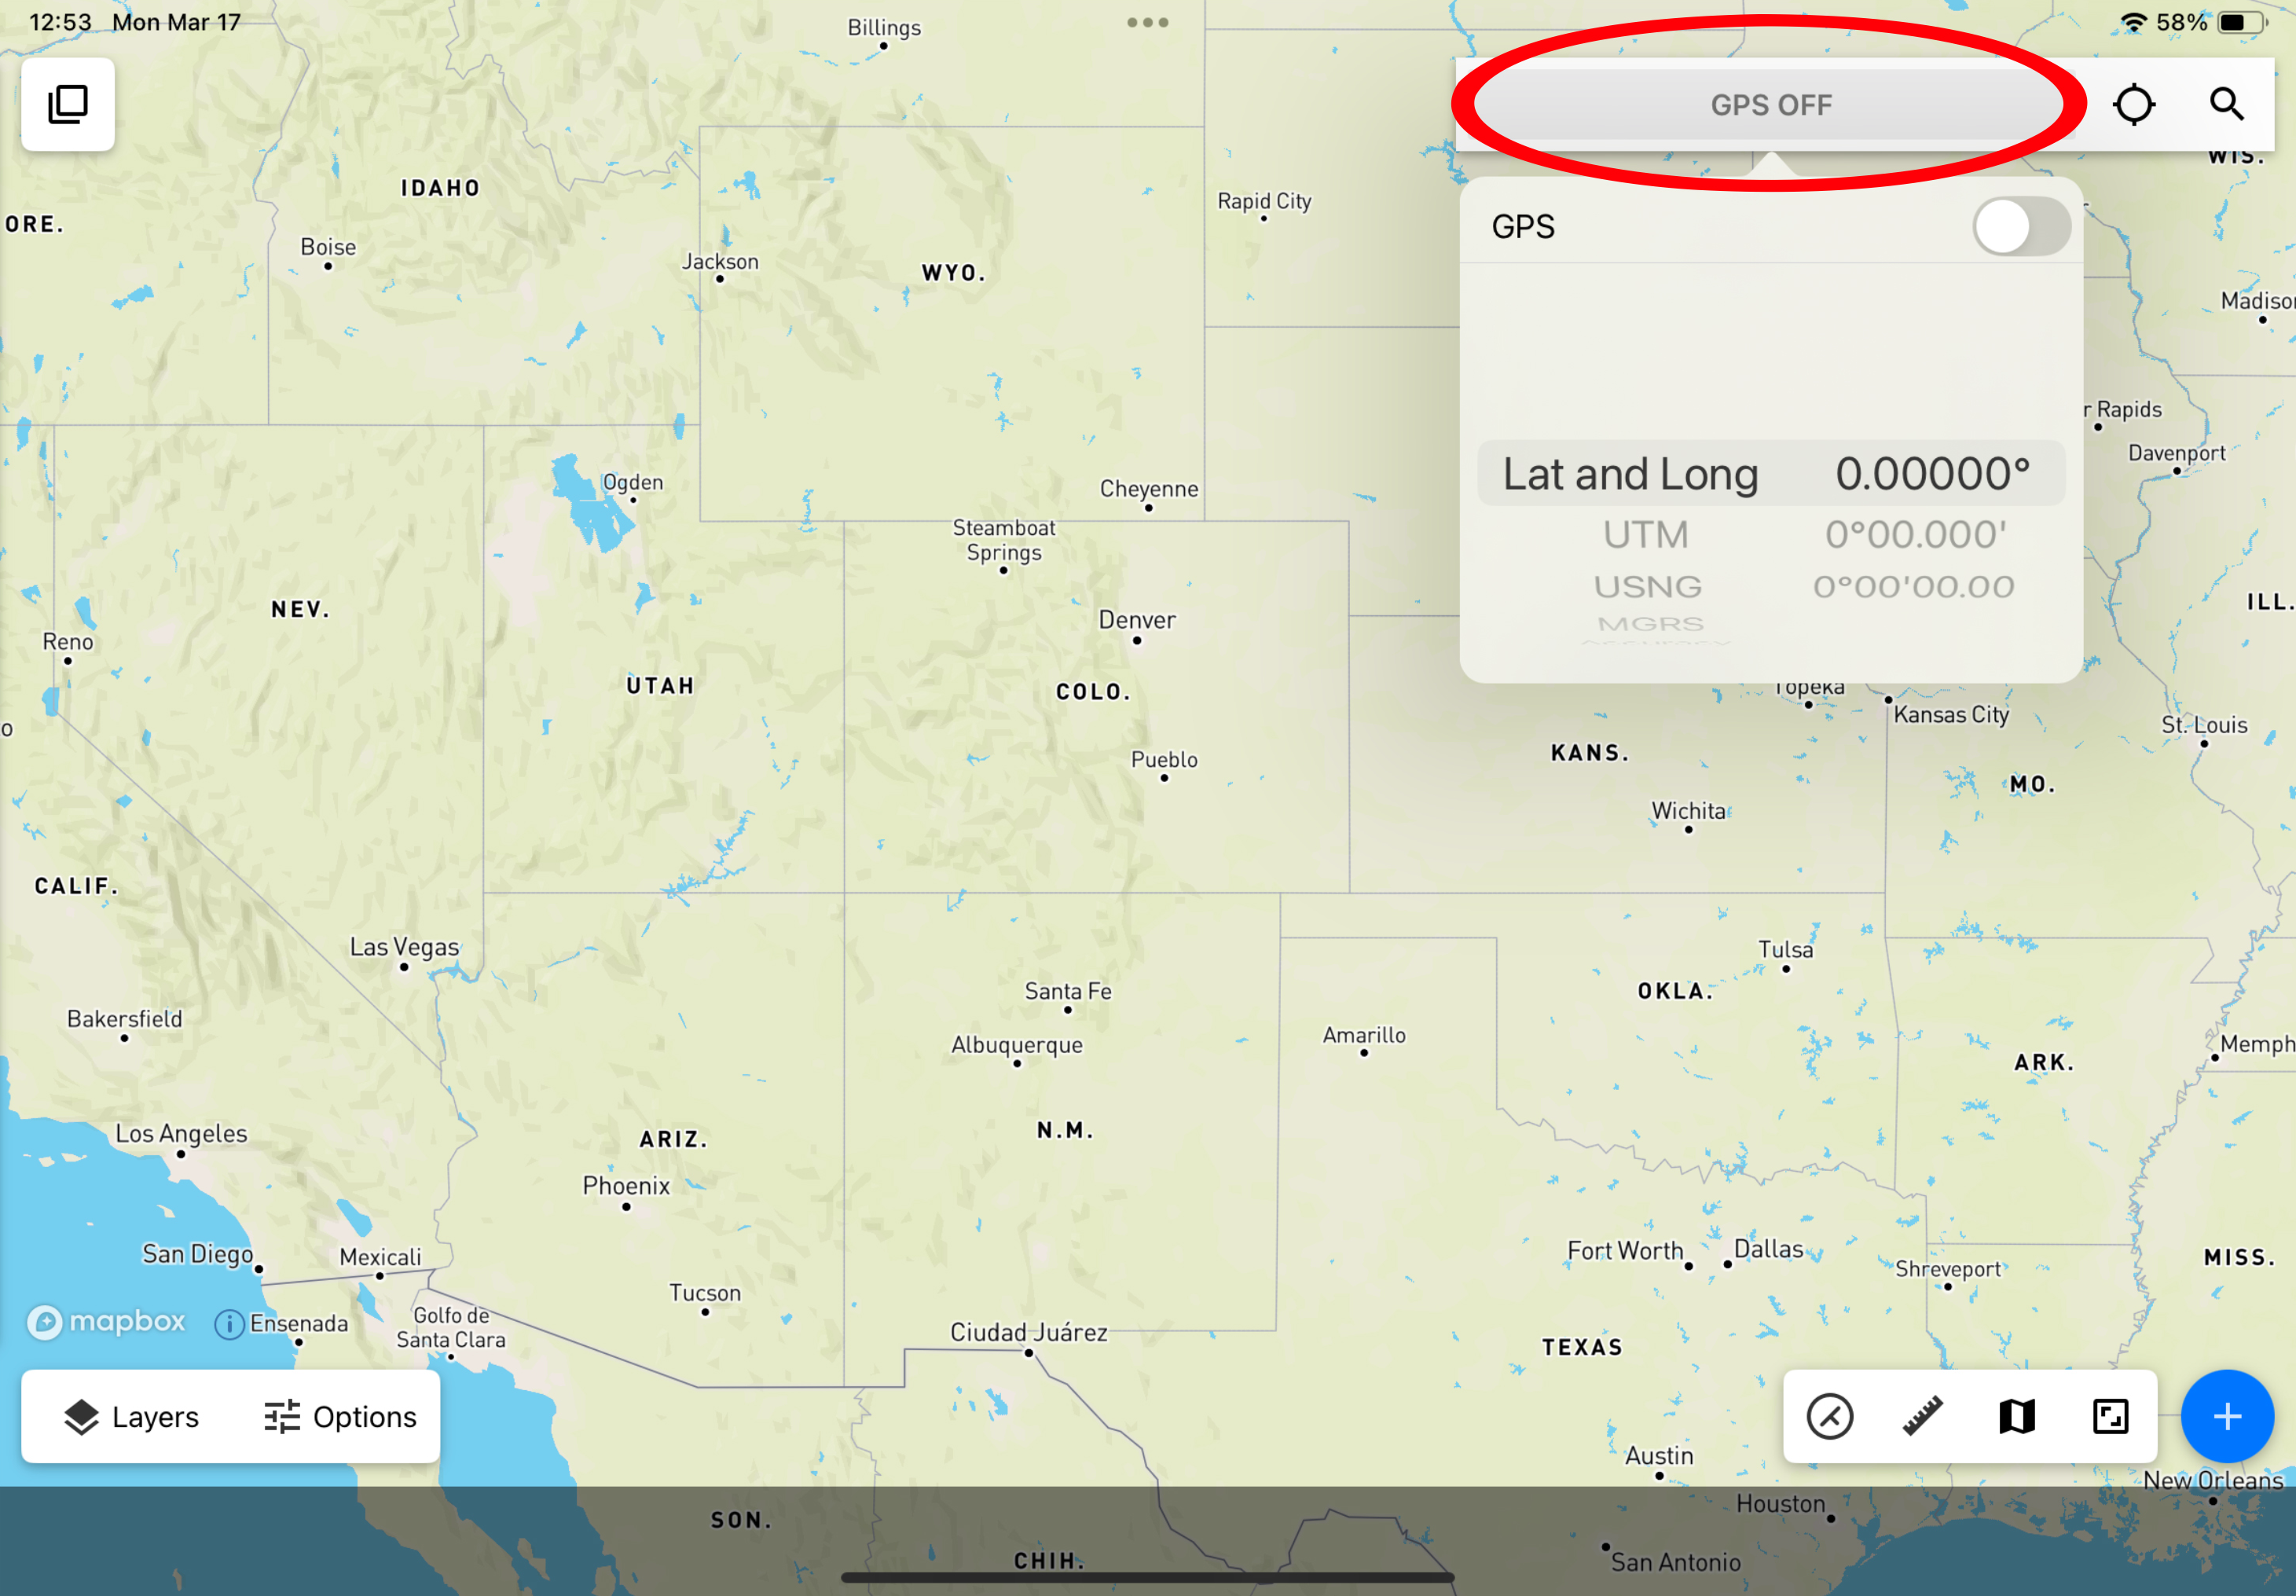
GPS Readout Panel and Options

Here you can turn GPS on and off and customize panel readout (location, coordinates, speed, elevation etc.)

Sample Touch GIS project with GPS Readout Options panel open and circled in red.
Tap the GPS Readout Panel (circled in red) to open and close the Readout Options panel.

Locate Me & Coordinate Search Buttons

If you want to see your current location on the map, tap the Locate Me button. This will draw a blue dot on the map based on your current GPS location, and zoom the map on it.

Sample Touch GIS project with the Locate Me button circled in red.
Display the coordinates of your current location with the Locate Me button (circled in red).

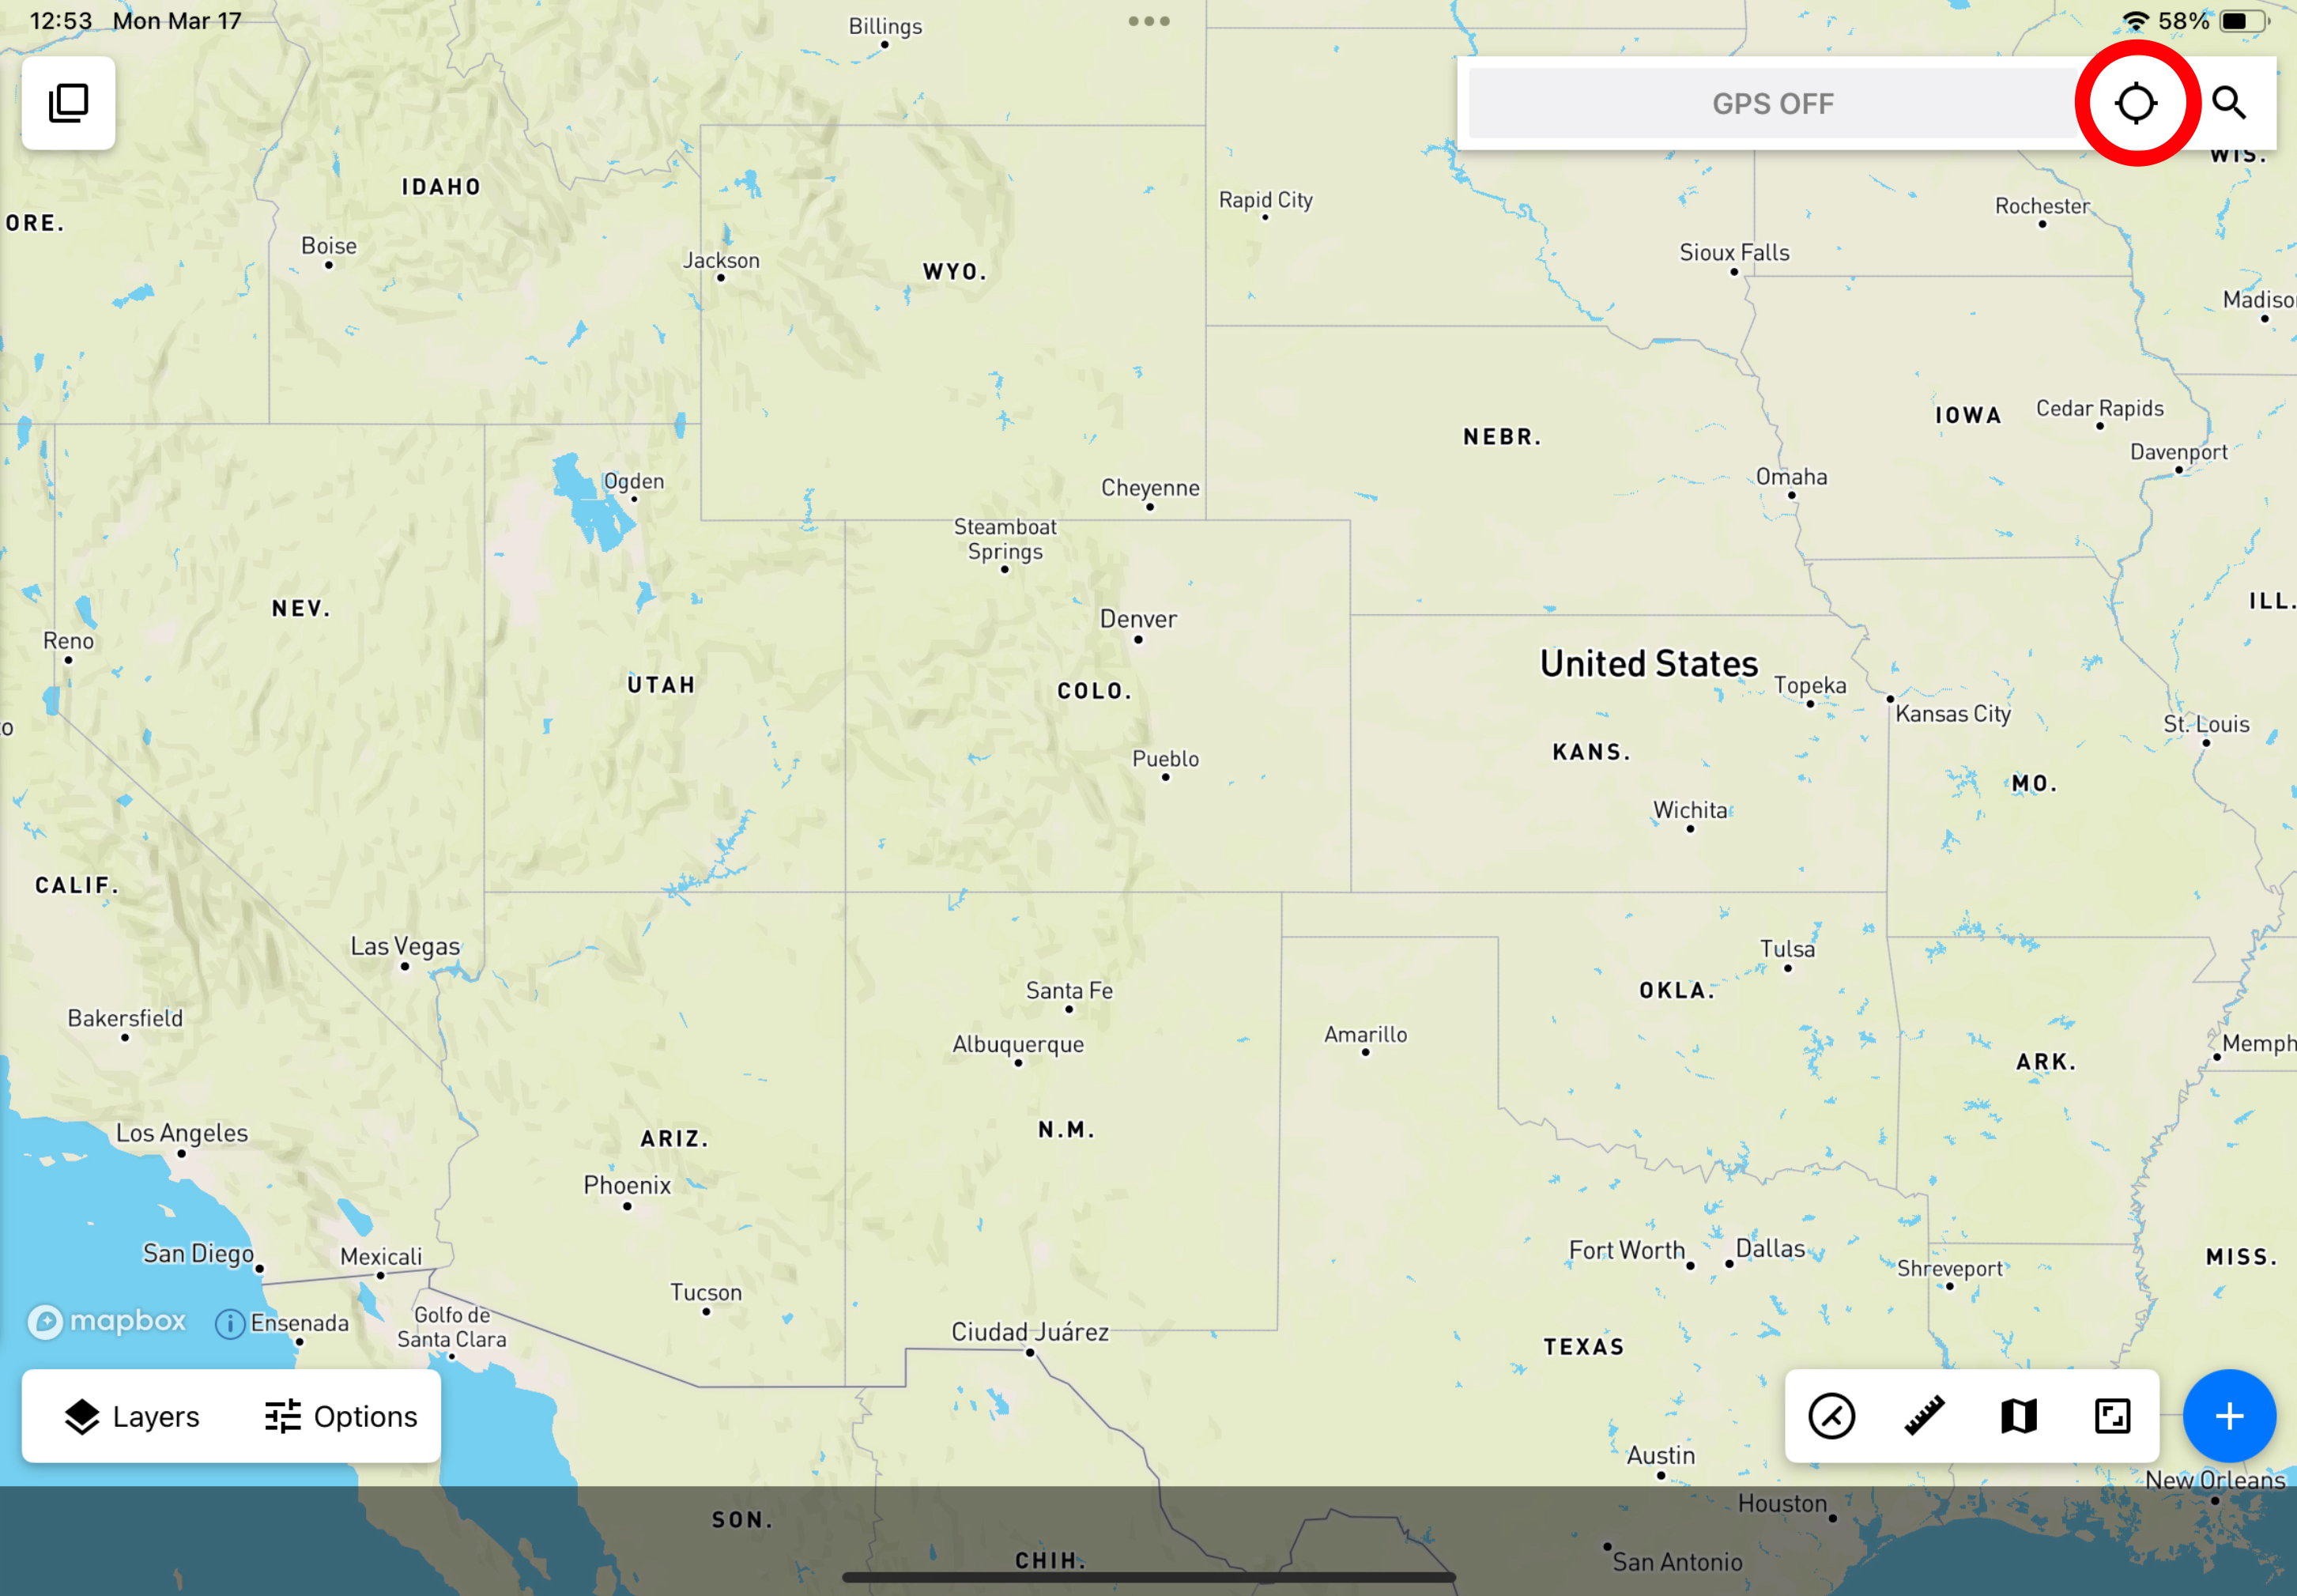
Otherwise, Coordinate Search allows you to input an exact coordinate in multiple formats if you need to place a point in a specific spot.

Sample Touch GIS project with the Coordinate Search button circled in red.
Find the Coordinate Search button in the top right corner (circled in red).
Sample Touch GIS project with the Latitude and Longitude input panel and keyboard open.
Once you tap the Coordinate Search button, you will be able to input coordinates in the format of your choosing.

The Attitude Tool

Need to get some strike and dip measurements and don't want to fuss with your transit? Tap here to open the Clinometer and take measurements by aligning the surface of you device to the planar feature you want to measure.
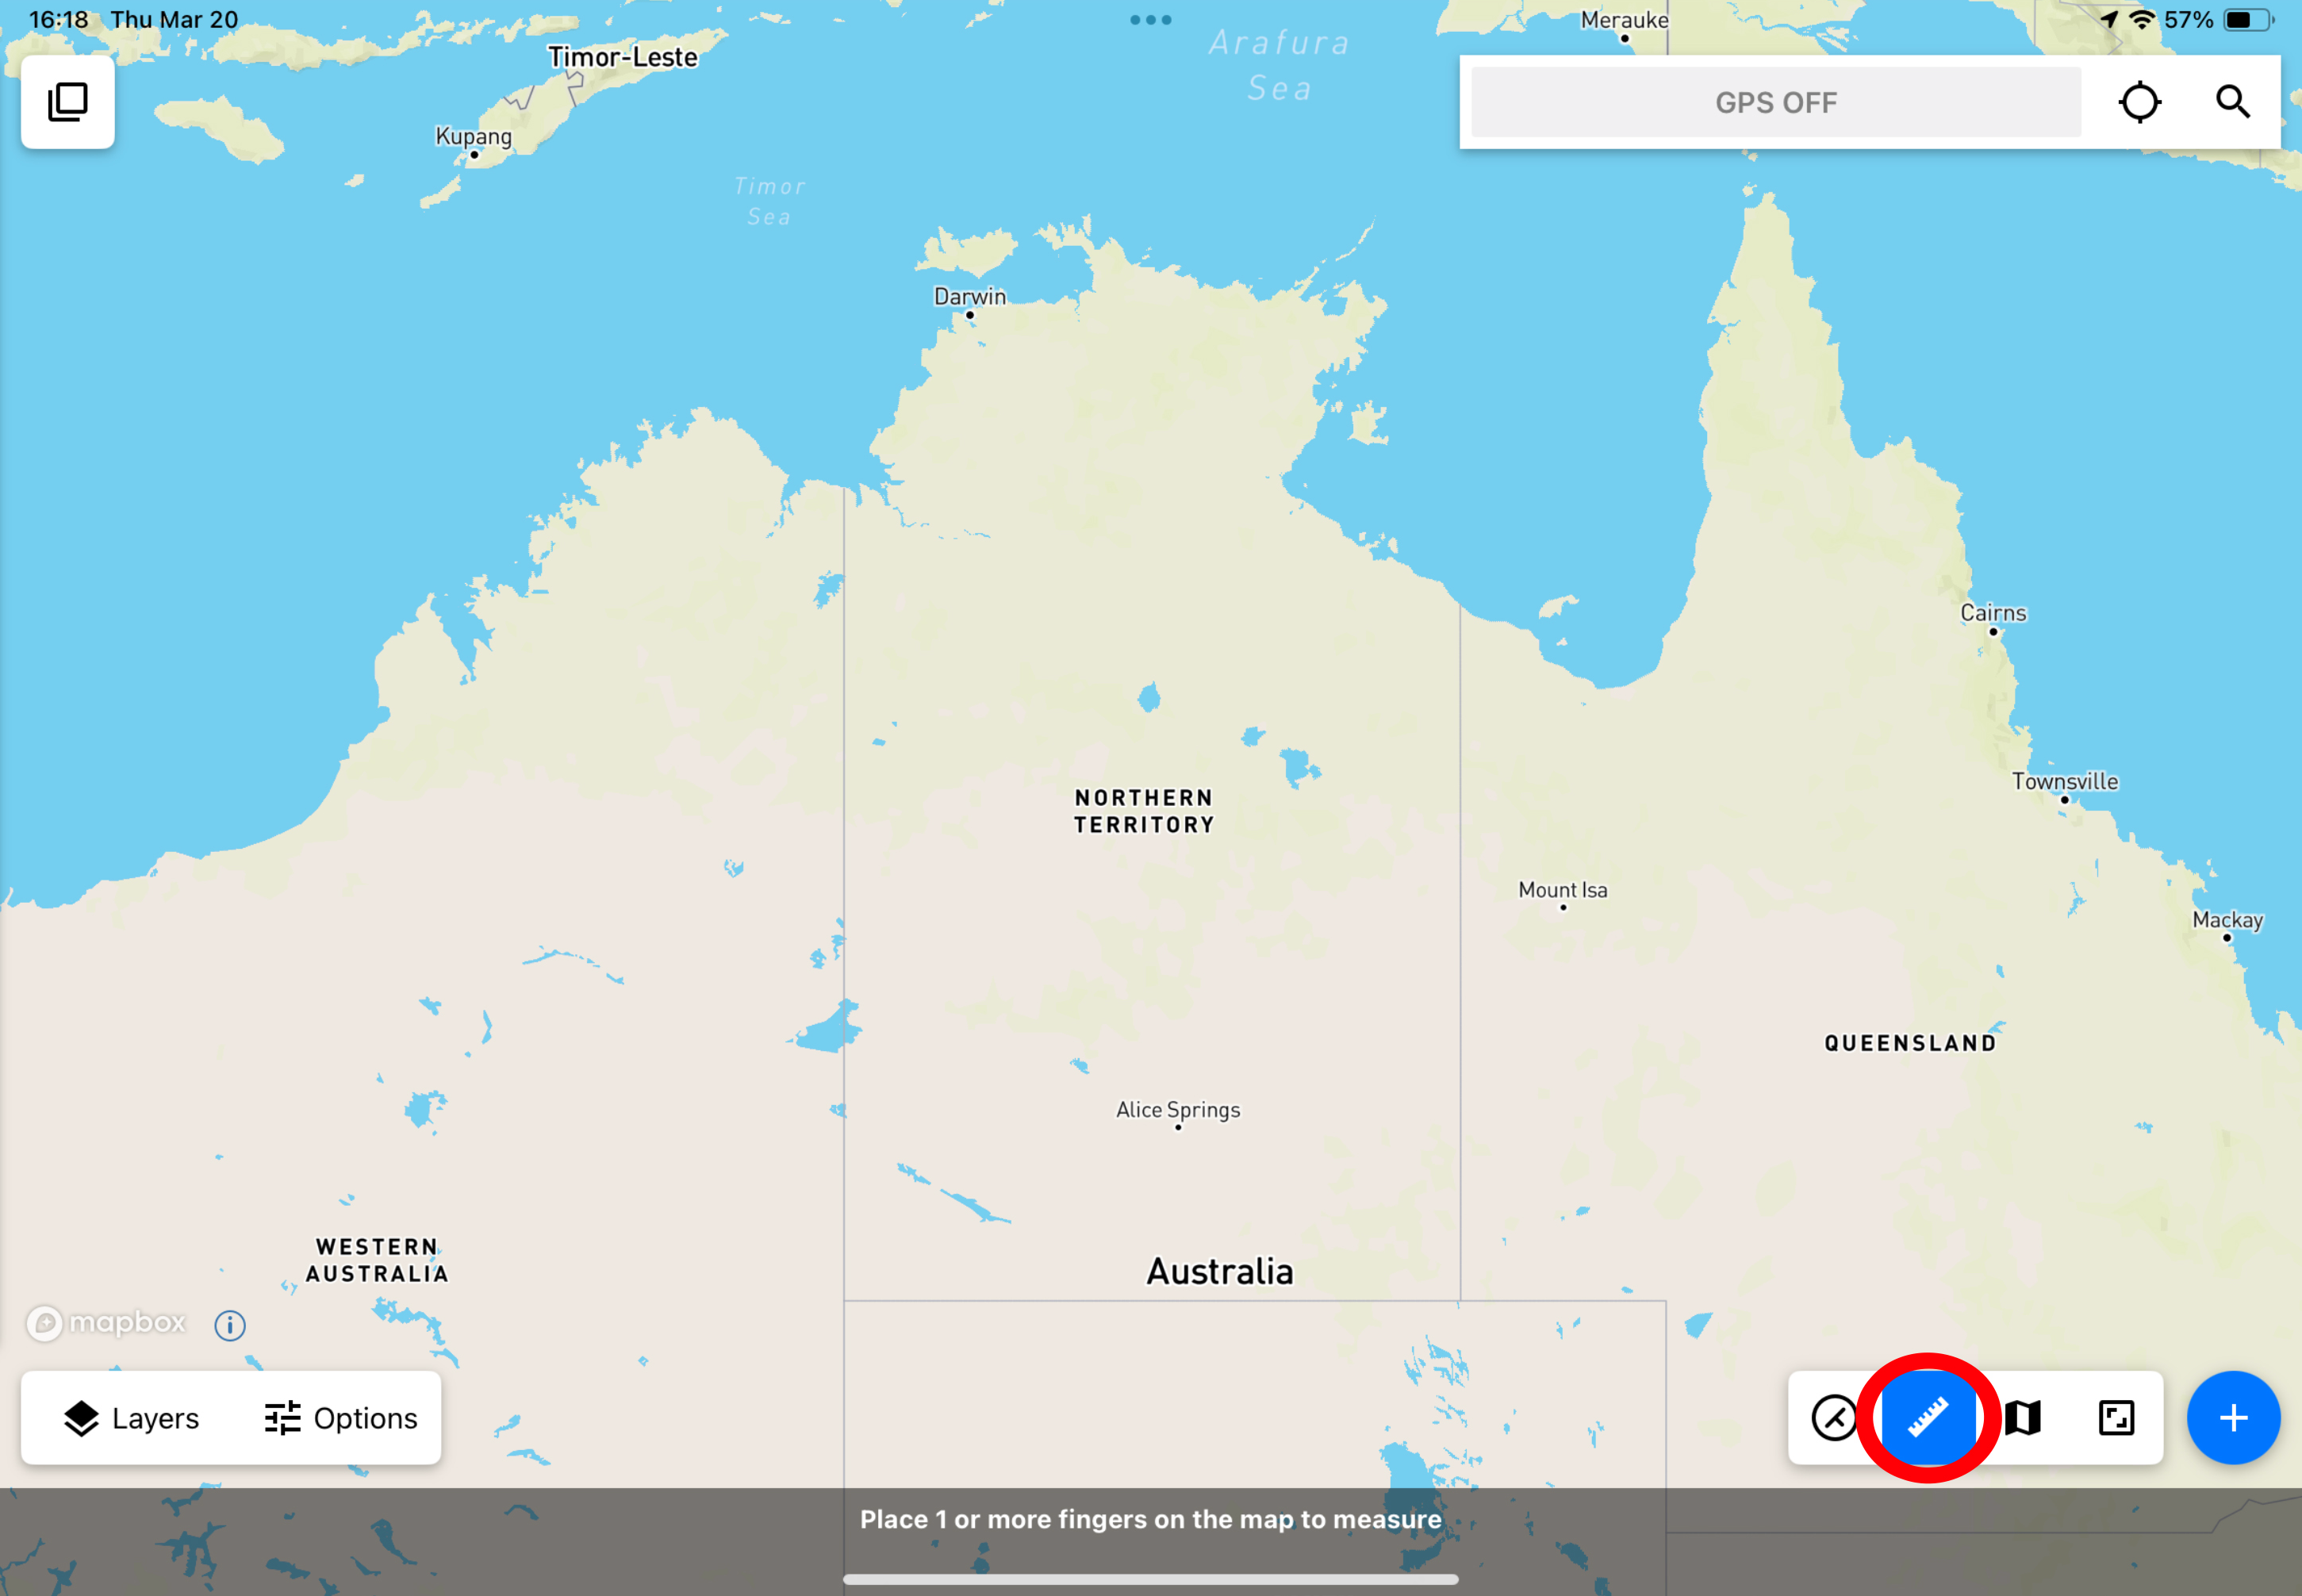
Sample Touch GIS project with the Attitude Tool open.
The Attitude Tool (circled in red) can be used as a replacement for a Brunton Compass.

The Measure Tool

Tap here to measure either the distance between two points on your project, or the area between three or four points.

Sample Touch GIS project with the Measure button circled in red.
After tapping the Measure button, place one or more fingers on the map to measure.

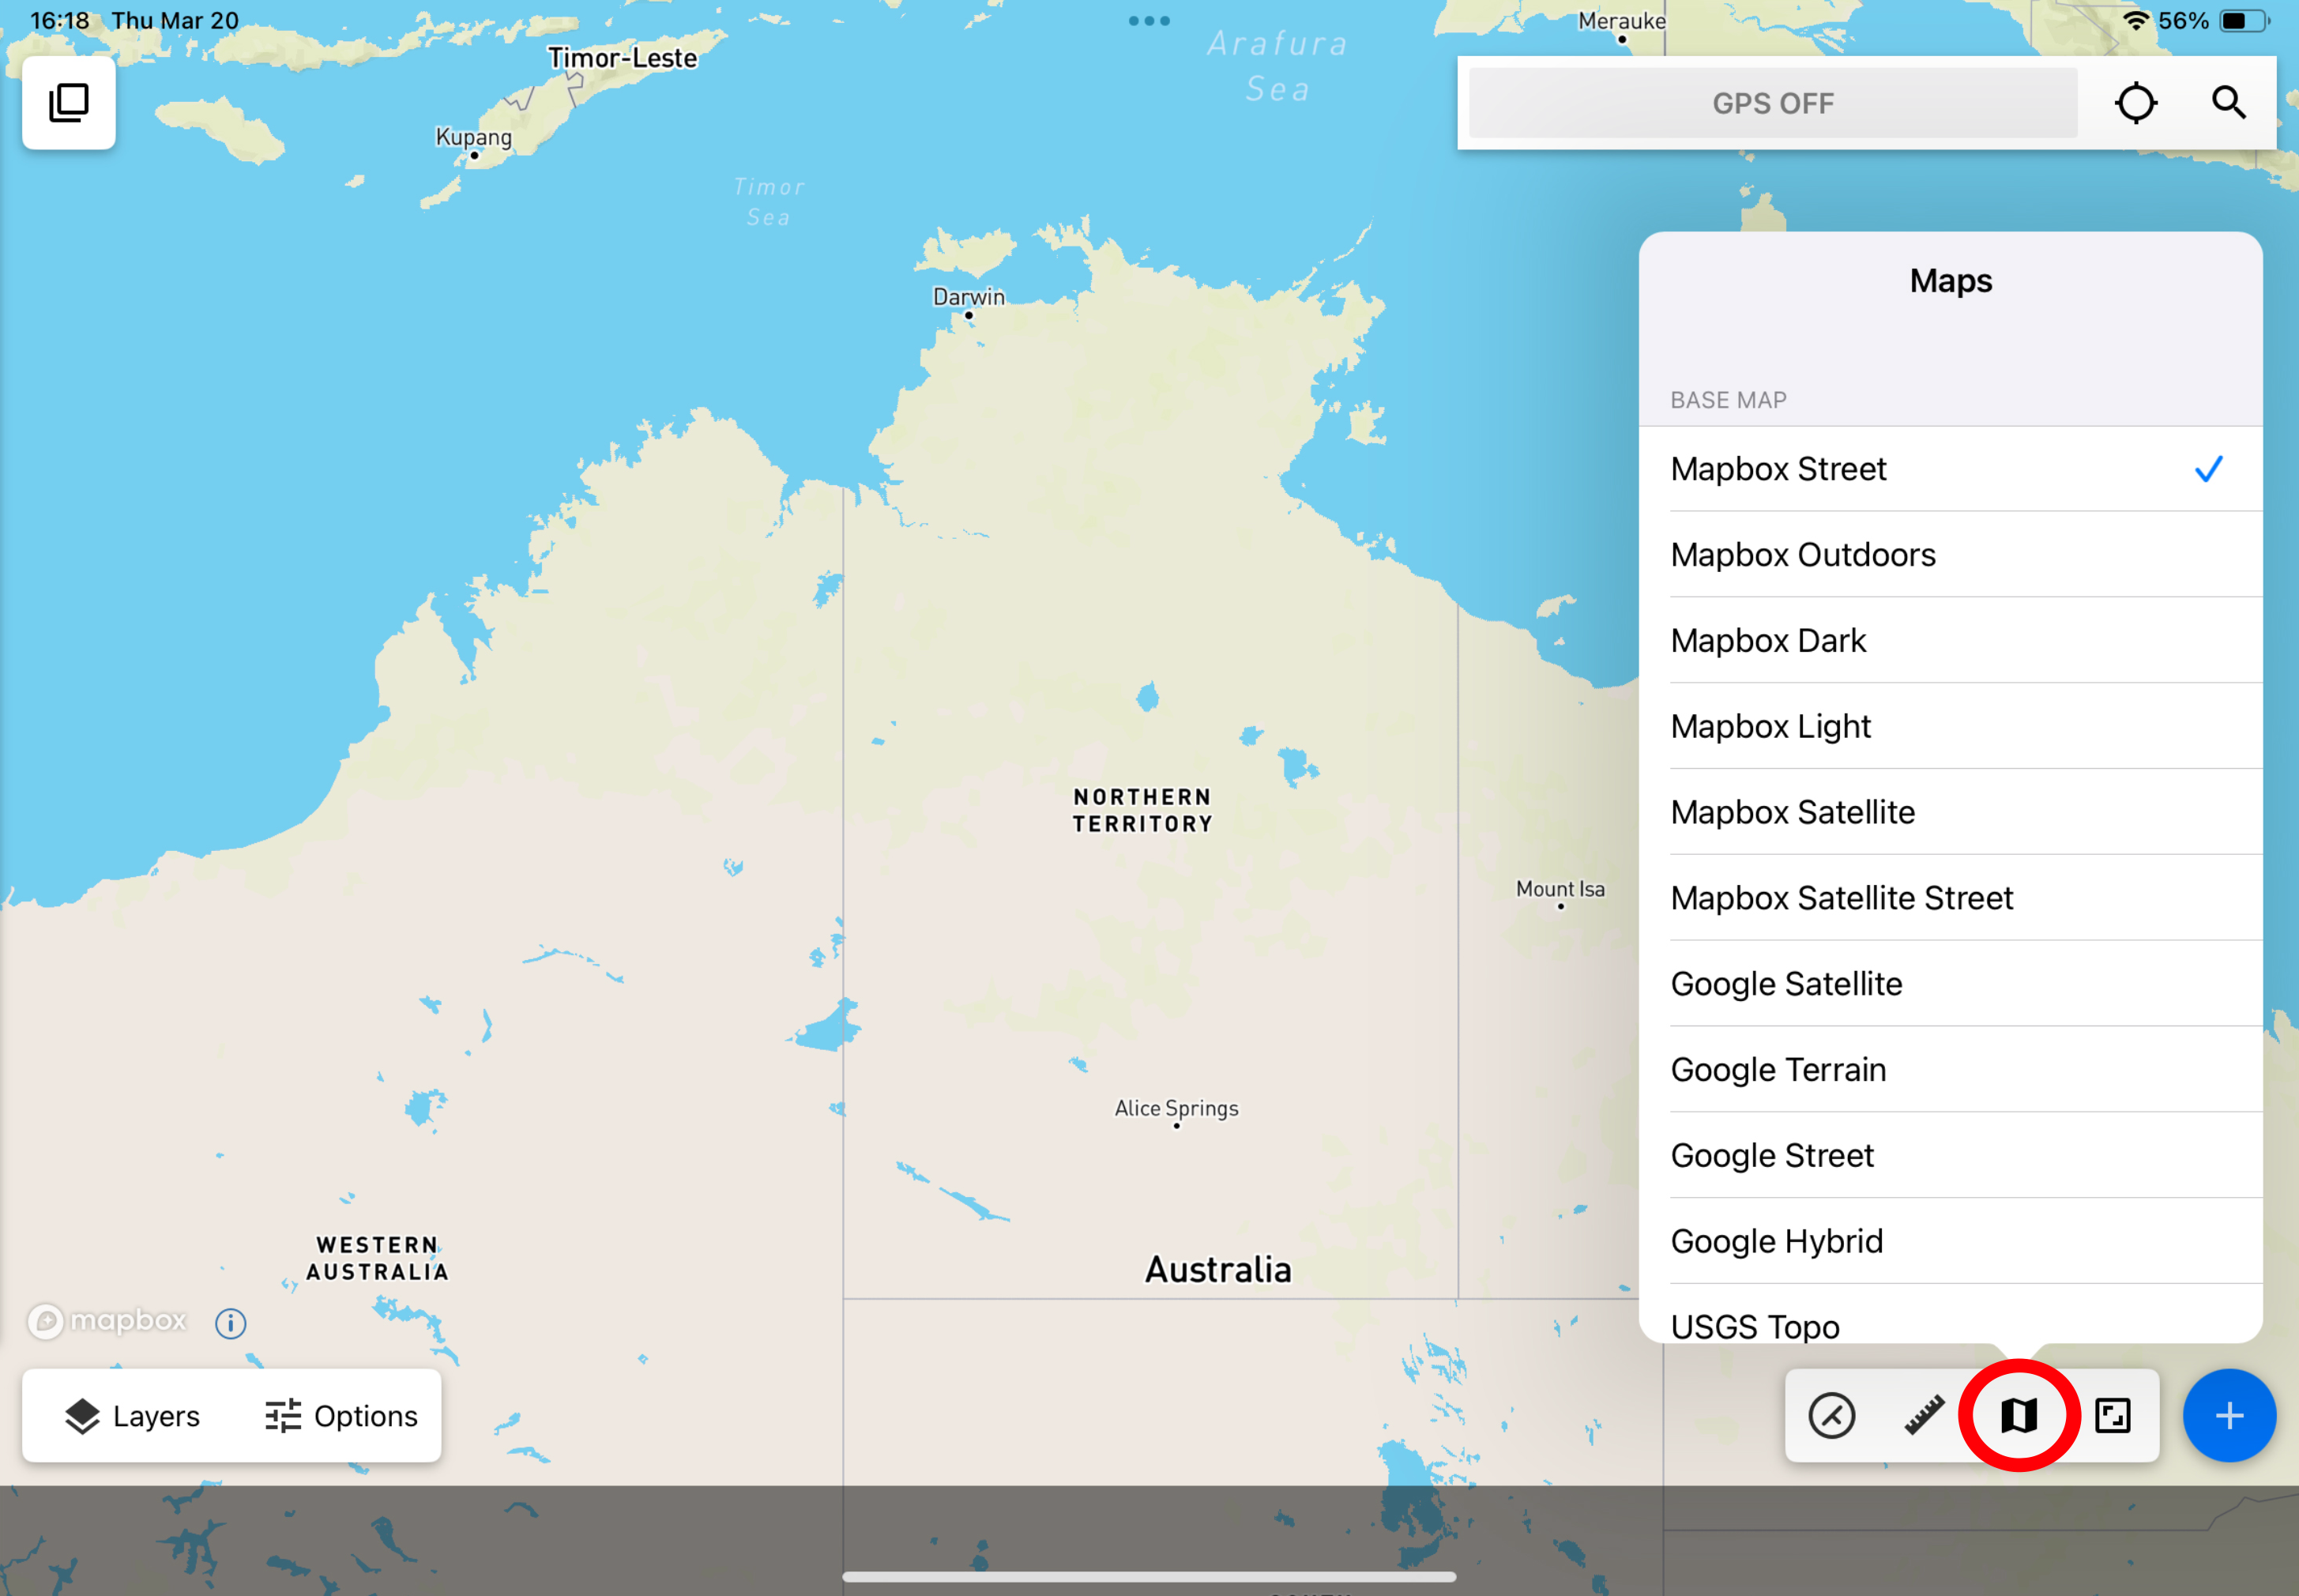
Basemaps & Overlays Menu

Here you can customize your map or terrain based on what works best for your project.

Sample Touch GIS project with the Basemaps & Overlays button circled in red.
Tap the Basemaps & Overlaps button to choose from a variety of map interfaces and terrains.

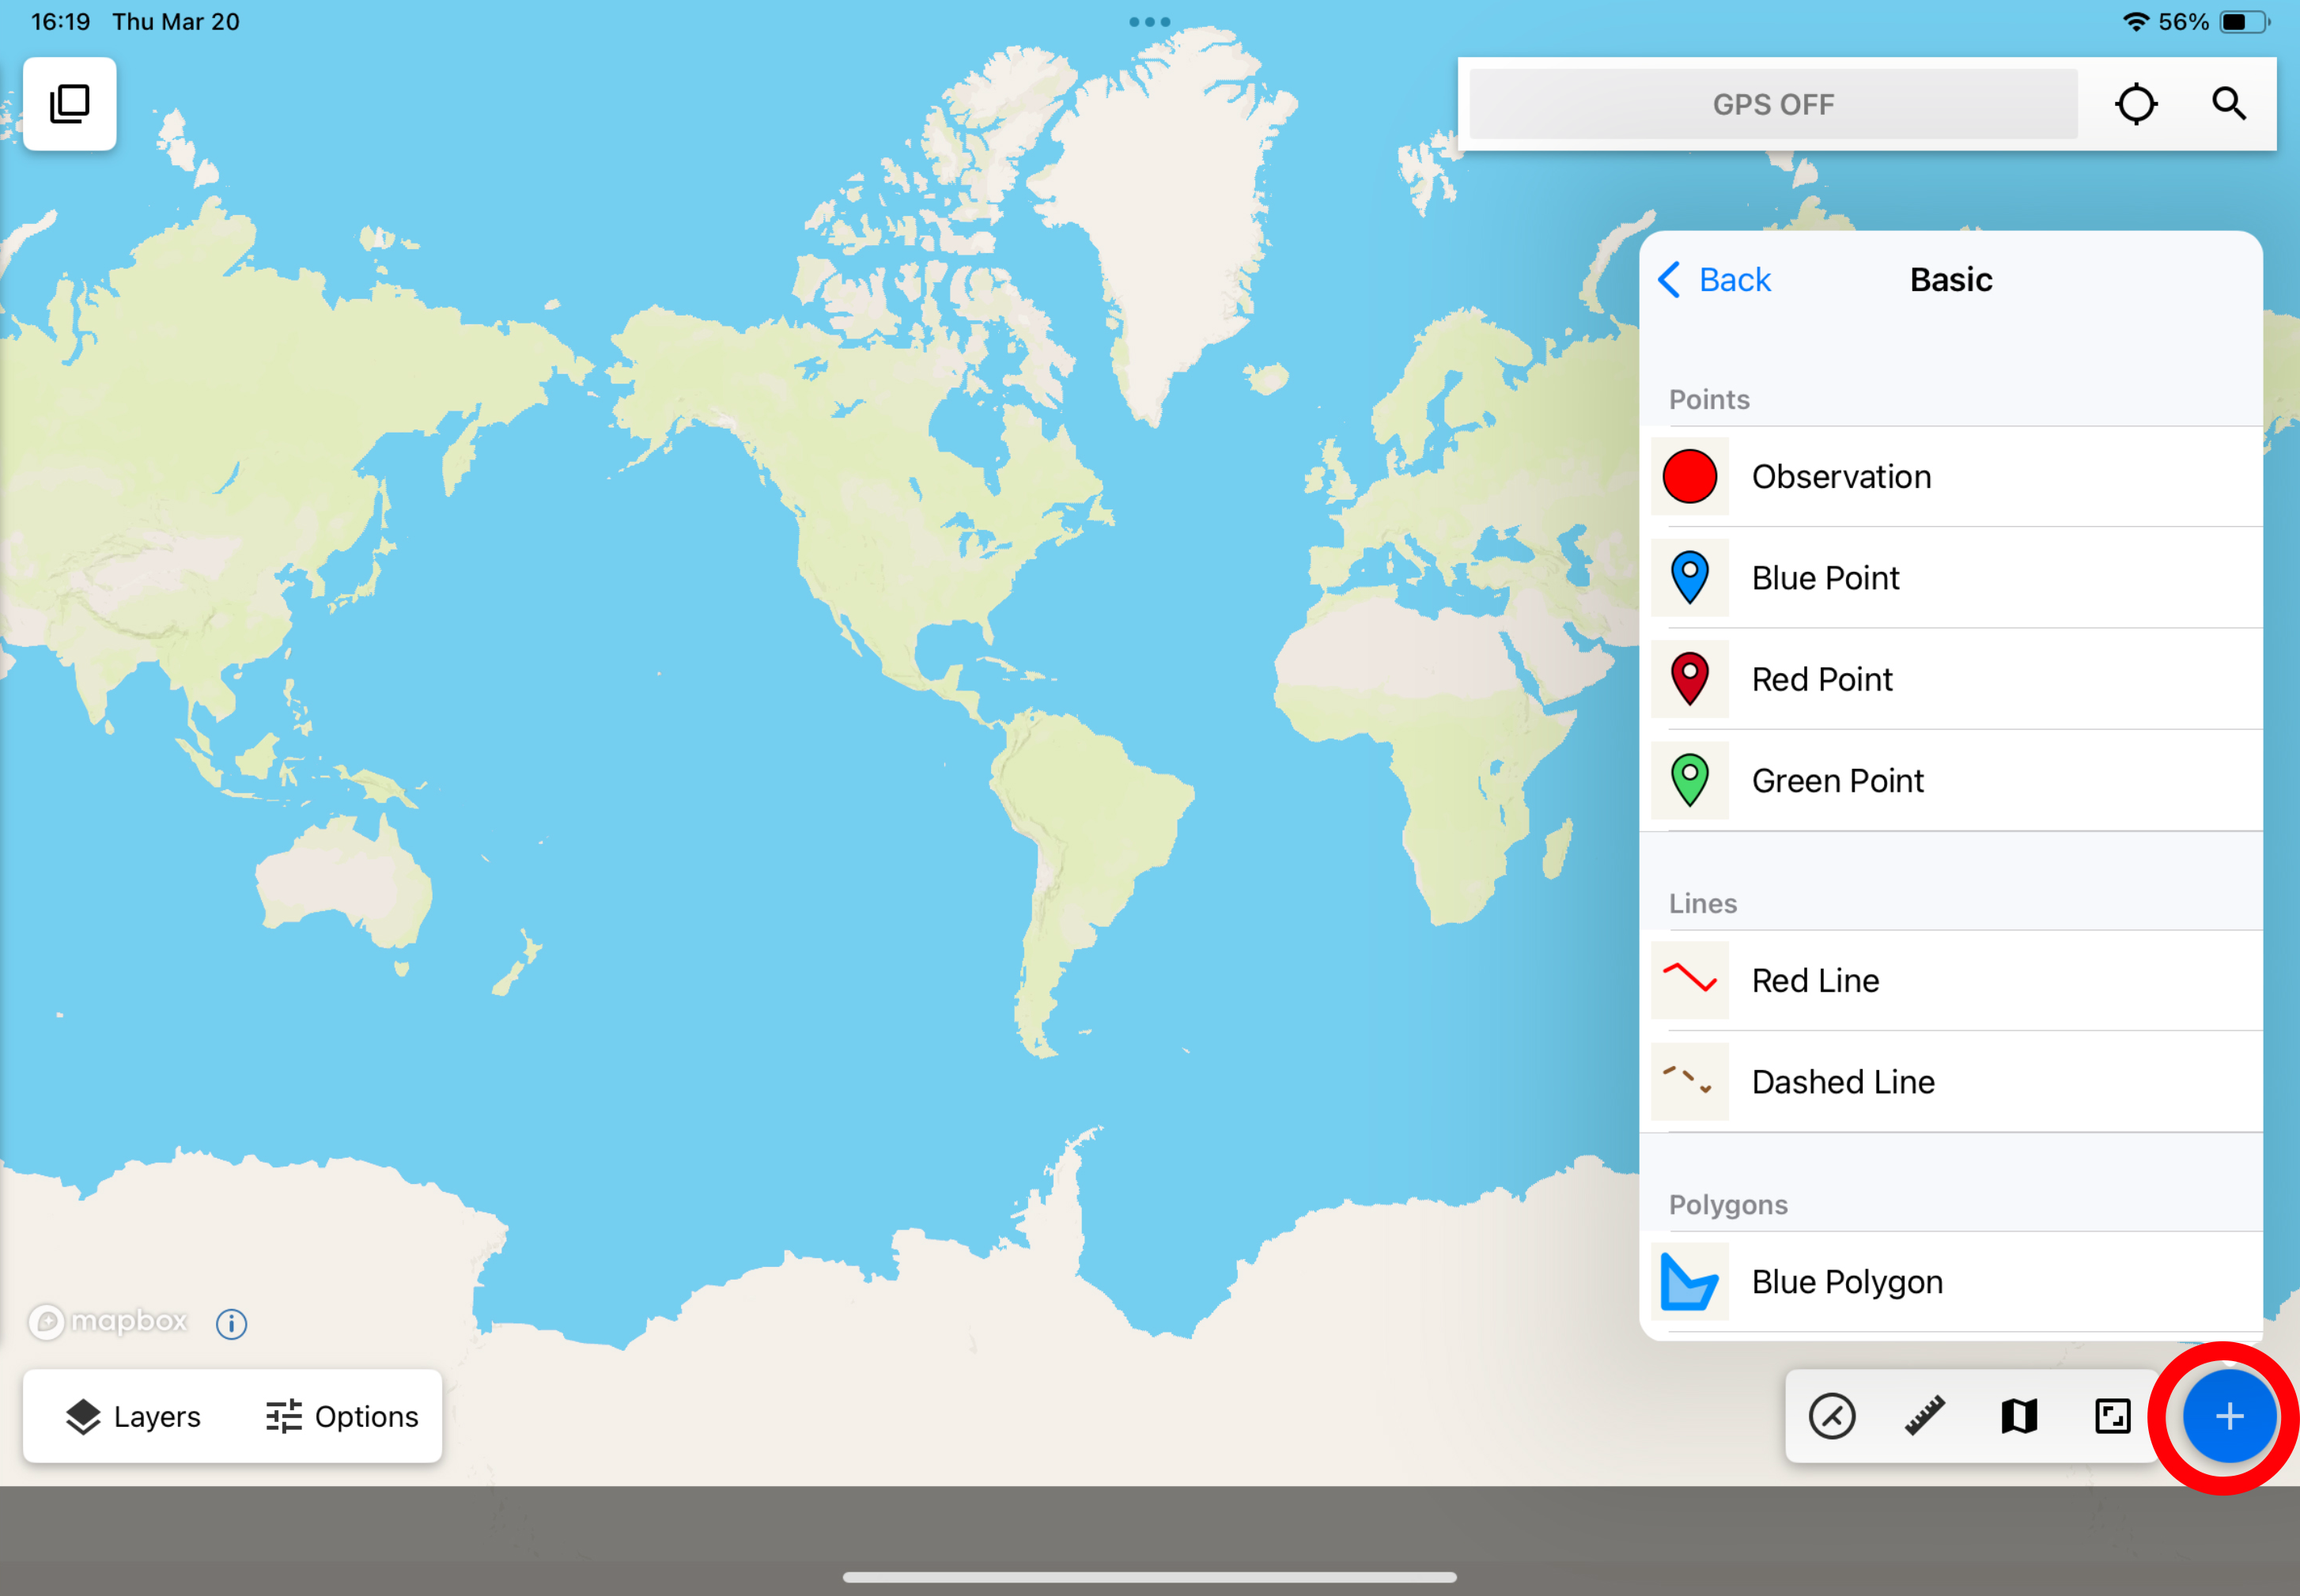
Adding Features To the Map

Tapping on the blue plus enables you to draw points, lines, polygons, and circles on your map.

Sample Touch GIS project with the Add Features to Map panel open and button circled in red.
The Features panel opens and closes when you tap the Add Features to Map button.

Return to Project Manager

When you’re done working, tap here to return to the project manager and see all your projects.

Tap the Return to Project Manager button to exit your current project.

Anything missing from the Project Interface panel? Email us at blog@touchgis.com and let us know!